
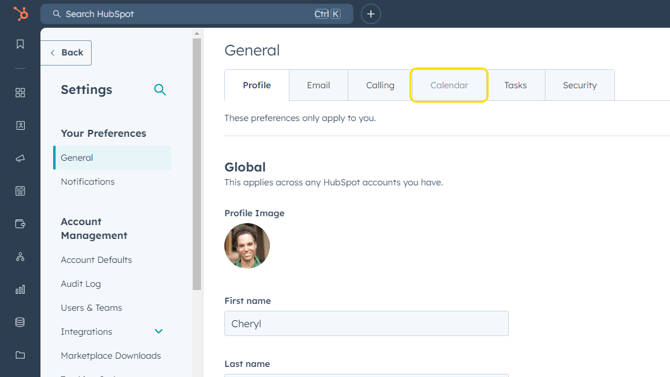
- From any screen, click on Settings (gear icon in upper right).
- Click on General.
- Click on Calendar tab.
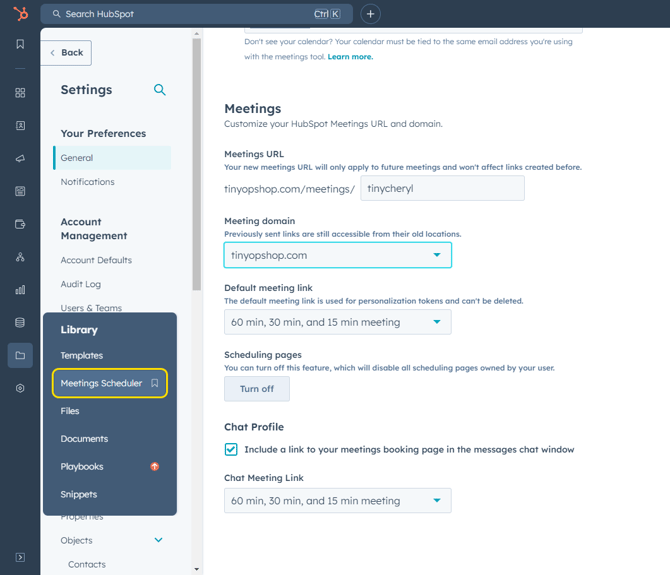
- Scroll down to where you see Meetings. When you connect your calendar to HubSpot, it automatically creates a meeting page URL for you. Here is where you can check what it created and change it if you'd prefer it to be something else.
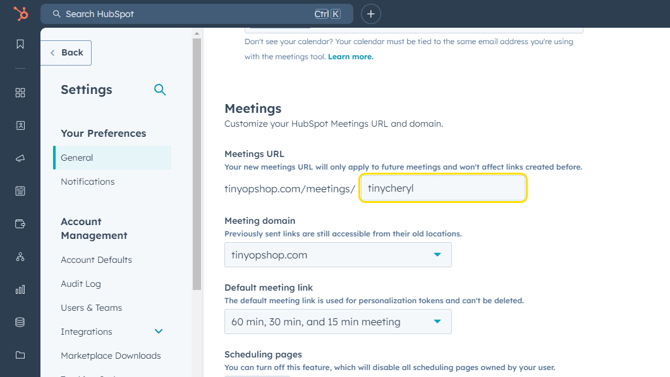
- Click on Save. This step has set the base URL for your meeting scheduler page.
- Next step is to set up the detail of the meeting scheduler page directly. These steps are required if you wish to use the HubSpot meeting scheduler function within HubSpot or from the Outlook add-in.
If you would like to watch a HubSpot video on the following steps, click here. - From the main navigation (far left icon bar), go to Library > click on Meetings Scheduler.
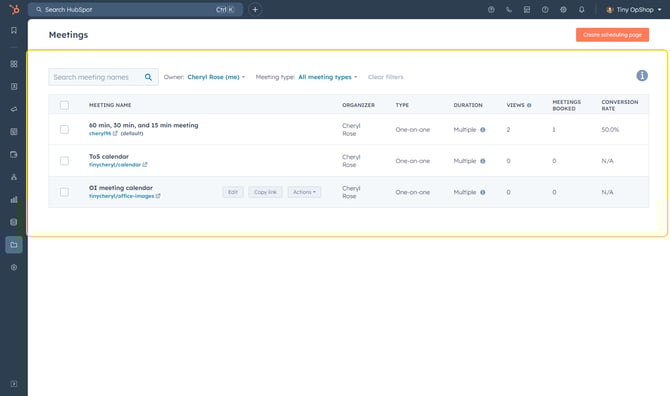
- You will see a page with your existing meetings pages. By default, you have one but you are able to set up more than one page if you want to use pages for different purposes.
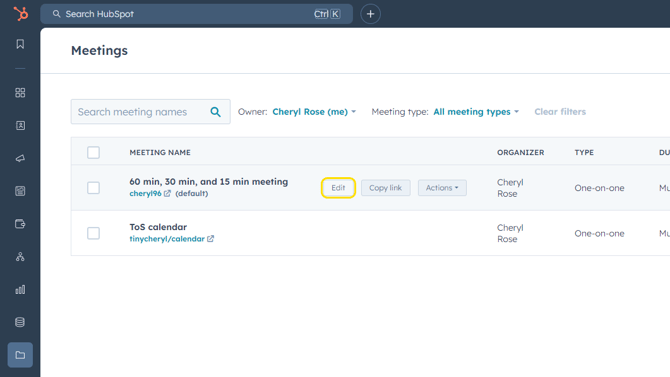
- If you were happy with the default page HubSpot created for you in Step 4 above, you can start your page setup by editing the existing meetings page. Click on Edit.
- If you changed the URL name that HubSpot originally provided in Step 4 above, you'll need to set up a new meeting page to use going forward. Click on Create scheduling page.

- Click on One-on-One (this step is only for those creating a new scheduling page).
- Type in what you'd like to name your meeting page.
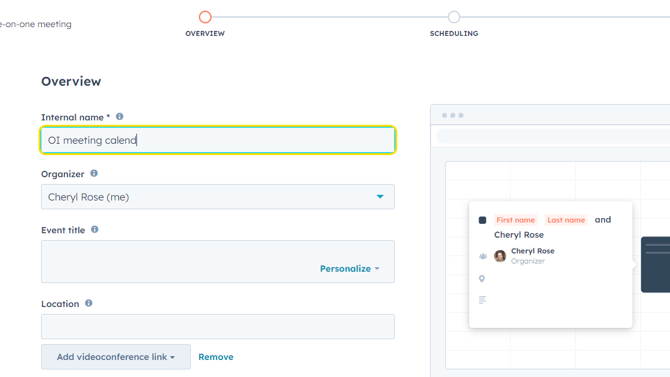
- Type in a title for all meetings that are scheduled from this page. It has to be generic as this is what the meeting invitation will be titled when it appears on both yours and the client's calendar.
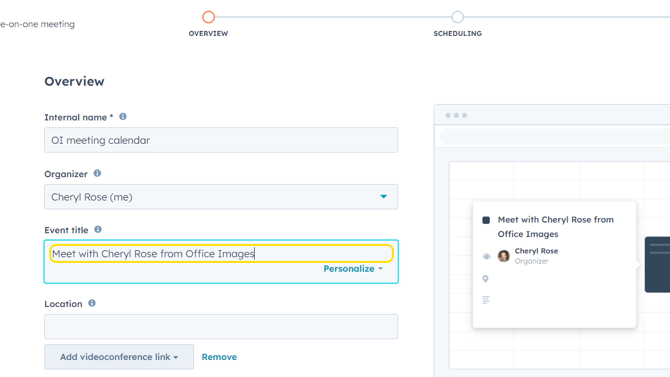
- Click on Add videoconference link. You may be able to select Teams or Zoom from the dropdown so that any meeting requests scheduled from your meetings page will already have a Teams or Zoom link included.
Note: If Teams or Zoom is not showing, you can click Manage Extensions > select Teams/Zoom > complete the onscreen prompts to connect your Teams/Zoom account to HubSpot.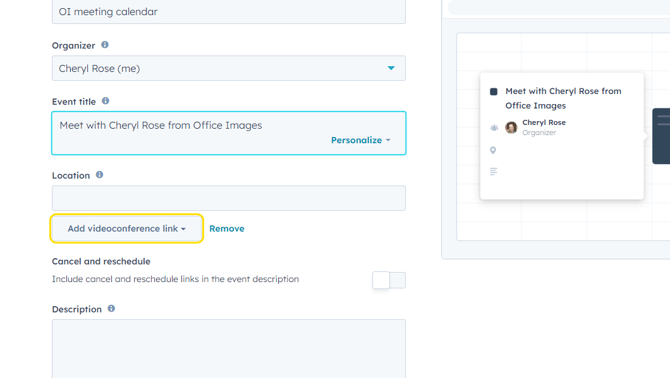
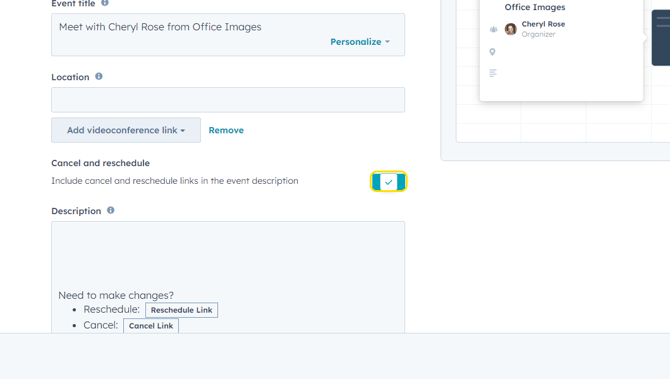
- Toggle Cancel and reschedule to ON to provide easy-access links for the client to proactively make a meeting change, avoiding back-and-forth email messages.
- Click on Next in the lower right corner.
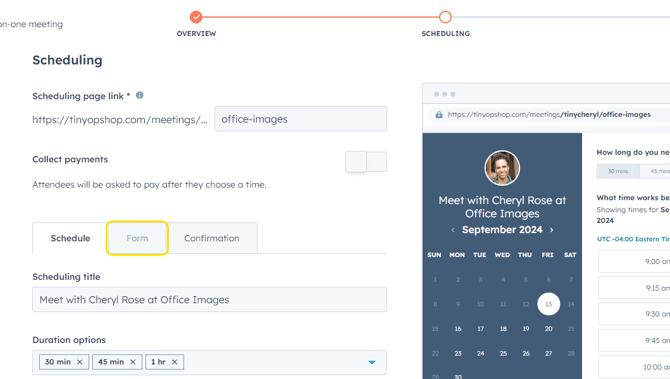
- At the top of the next page, complete the URL that will be used for this particular meetings page. Putting your company name can often work best.
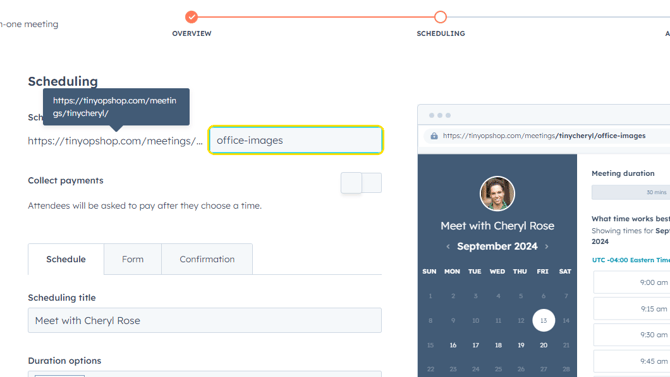
- You can see a preview of your meetings page with the full URL to the right to ensure it looks the way you wish.

- Type in the public-facing title of your meetings page. This is the title a visitor would see directly under your chosen profile image, as shown in the right-hand preview area. (Click here for the steps for set your profile image).
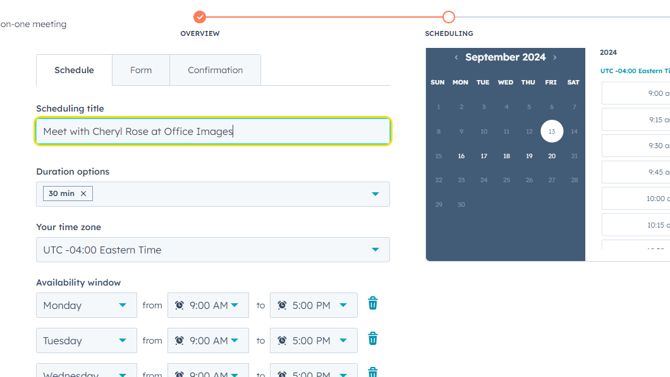
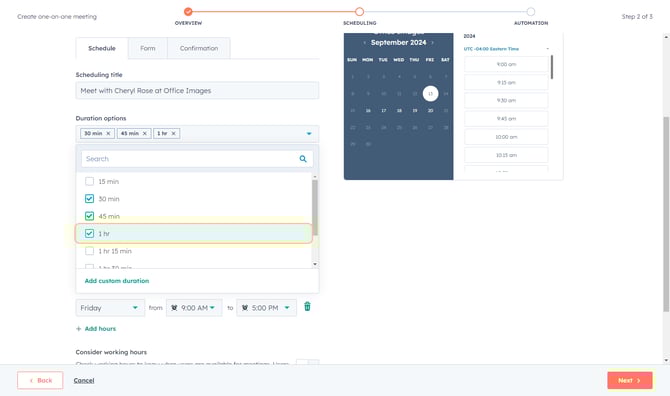
- Click on Duration options to set the durations you want to allow someone to schedule.
- Click on Availability dropdown to select the days and time windows you will allow someone to request meetings with you.
Note: this does NOT mean they can schedule over/in conflict with an existing meeting during a given time window. Connecting your calendar to HubSpot will allow HubSpot to only show available slots during the time windows you've specified.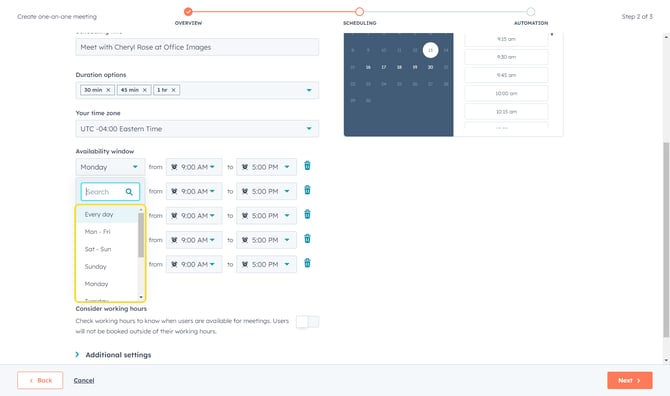
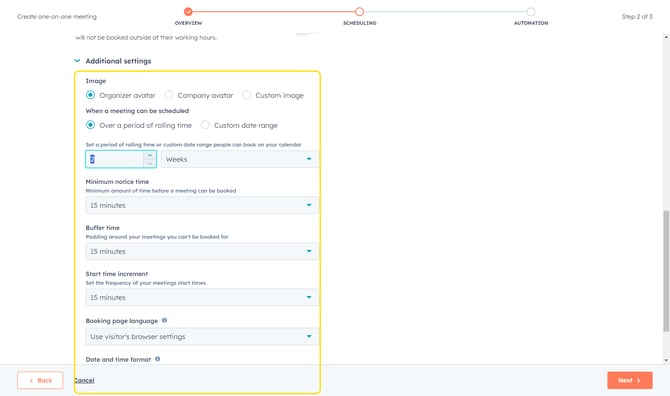
- After setting your availability windows, click on Additional settings.
- This is where you can control how far in advance someone can book (period of rolling time) and how much buffer time you want before meetings and in-between meetings.
- Before clicking Next, scroll back up on this page for a few other quick settings. Click on the Form tab.
- Turn on CAPTCHA to prevent web bots from filling out your meeting scheduler request form.
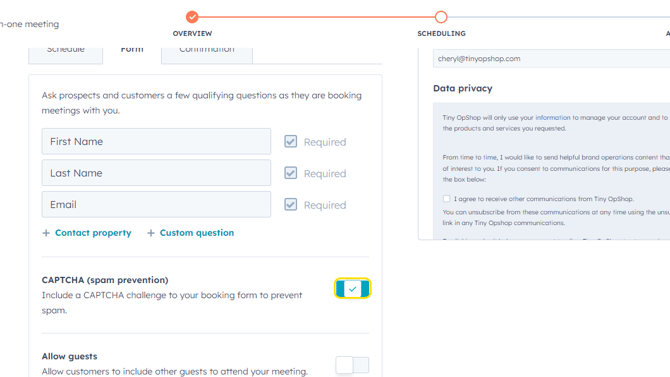
- Also, toggle Allow guest to ON if you want clients to be able to add other people to a meeting request.

- With these setting complete, click on Next in the lower right corner.
- Toggle Confirmation email ON so guests receive a confirmation once they've booked a meeting from your page. Additionally, turn ON Pre-meeting reminder if you'd like to send automated reminders out.
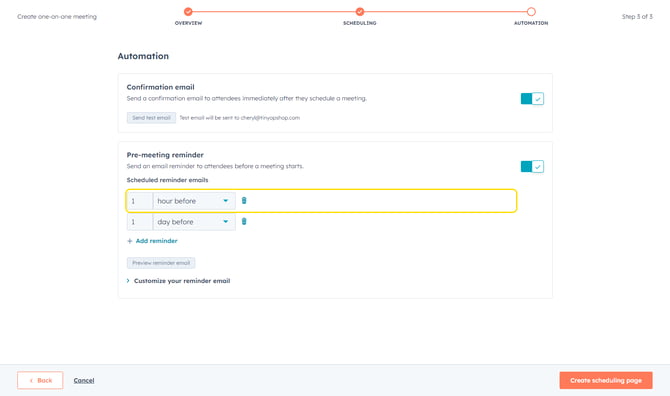
- Click on Create scheduling page (or Save if page was being edited) in the lower right corner.
- Your meeting page is now set up and will show under Library > Meetings Scheduler.
- For users who created a new URL from the HubSpot default in Step 4 above, there is a final step to change which default meeting page HubSpot uses.
Follow Steps 1-3 above to get back to Settings > General > Calendar tab. - Click on Default meeting link dropdown.
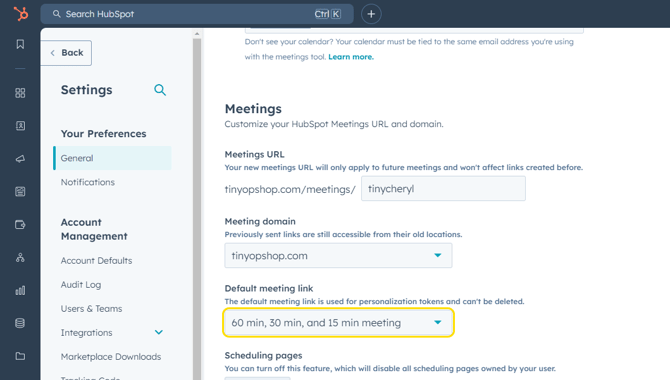
- Select the new scheduling page you created.

- Click on Save on the lower left corner.